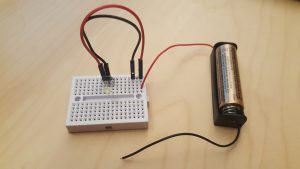
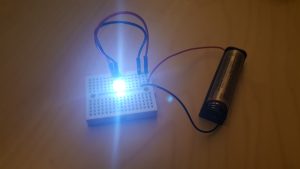
Step 1: Make a simple Salt Aluminum Battery
How to: https://www.exploratorium.edu/snacks/aluminum-air-battery
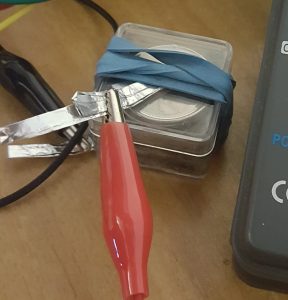
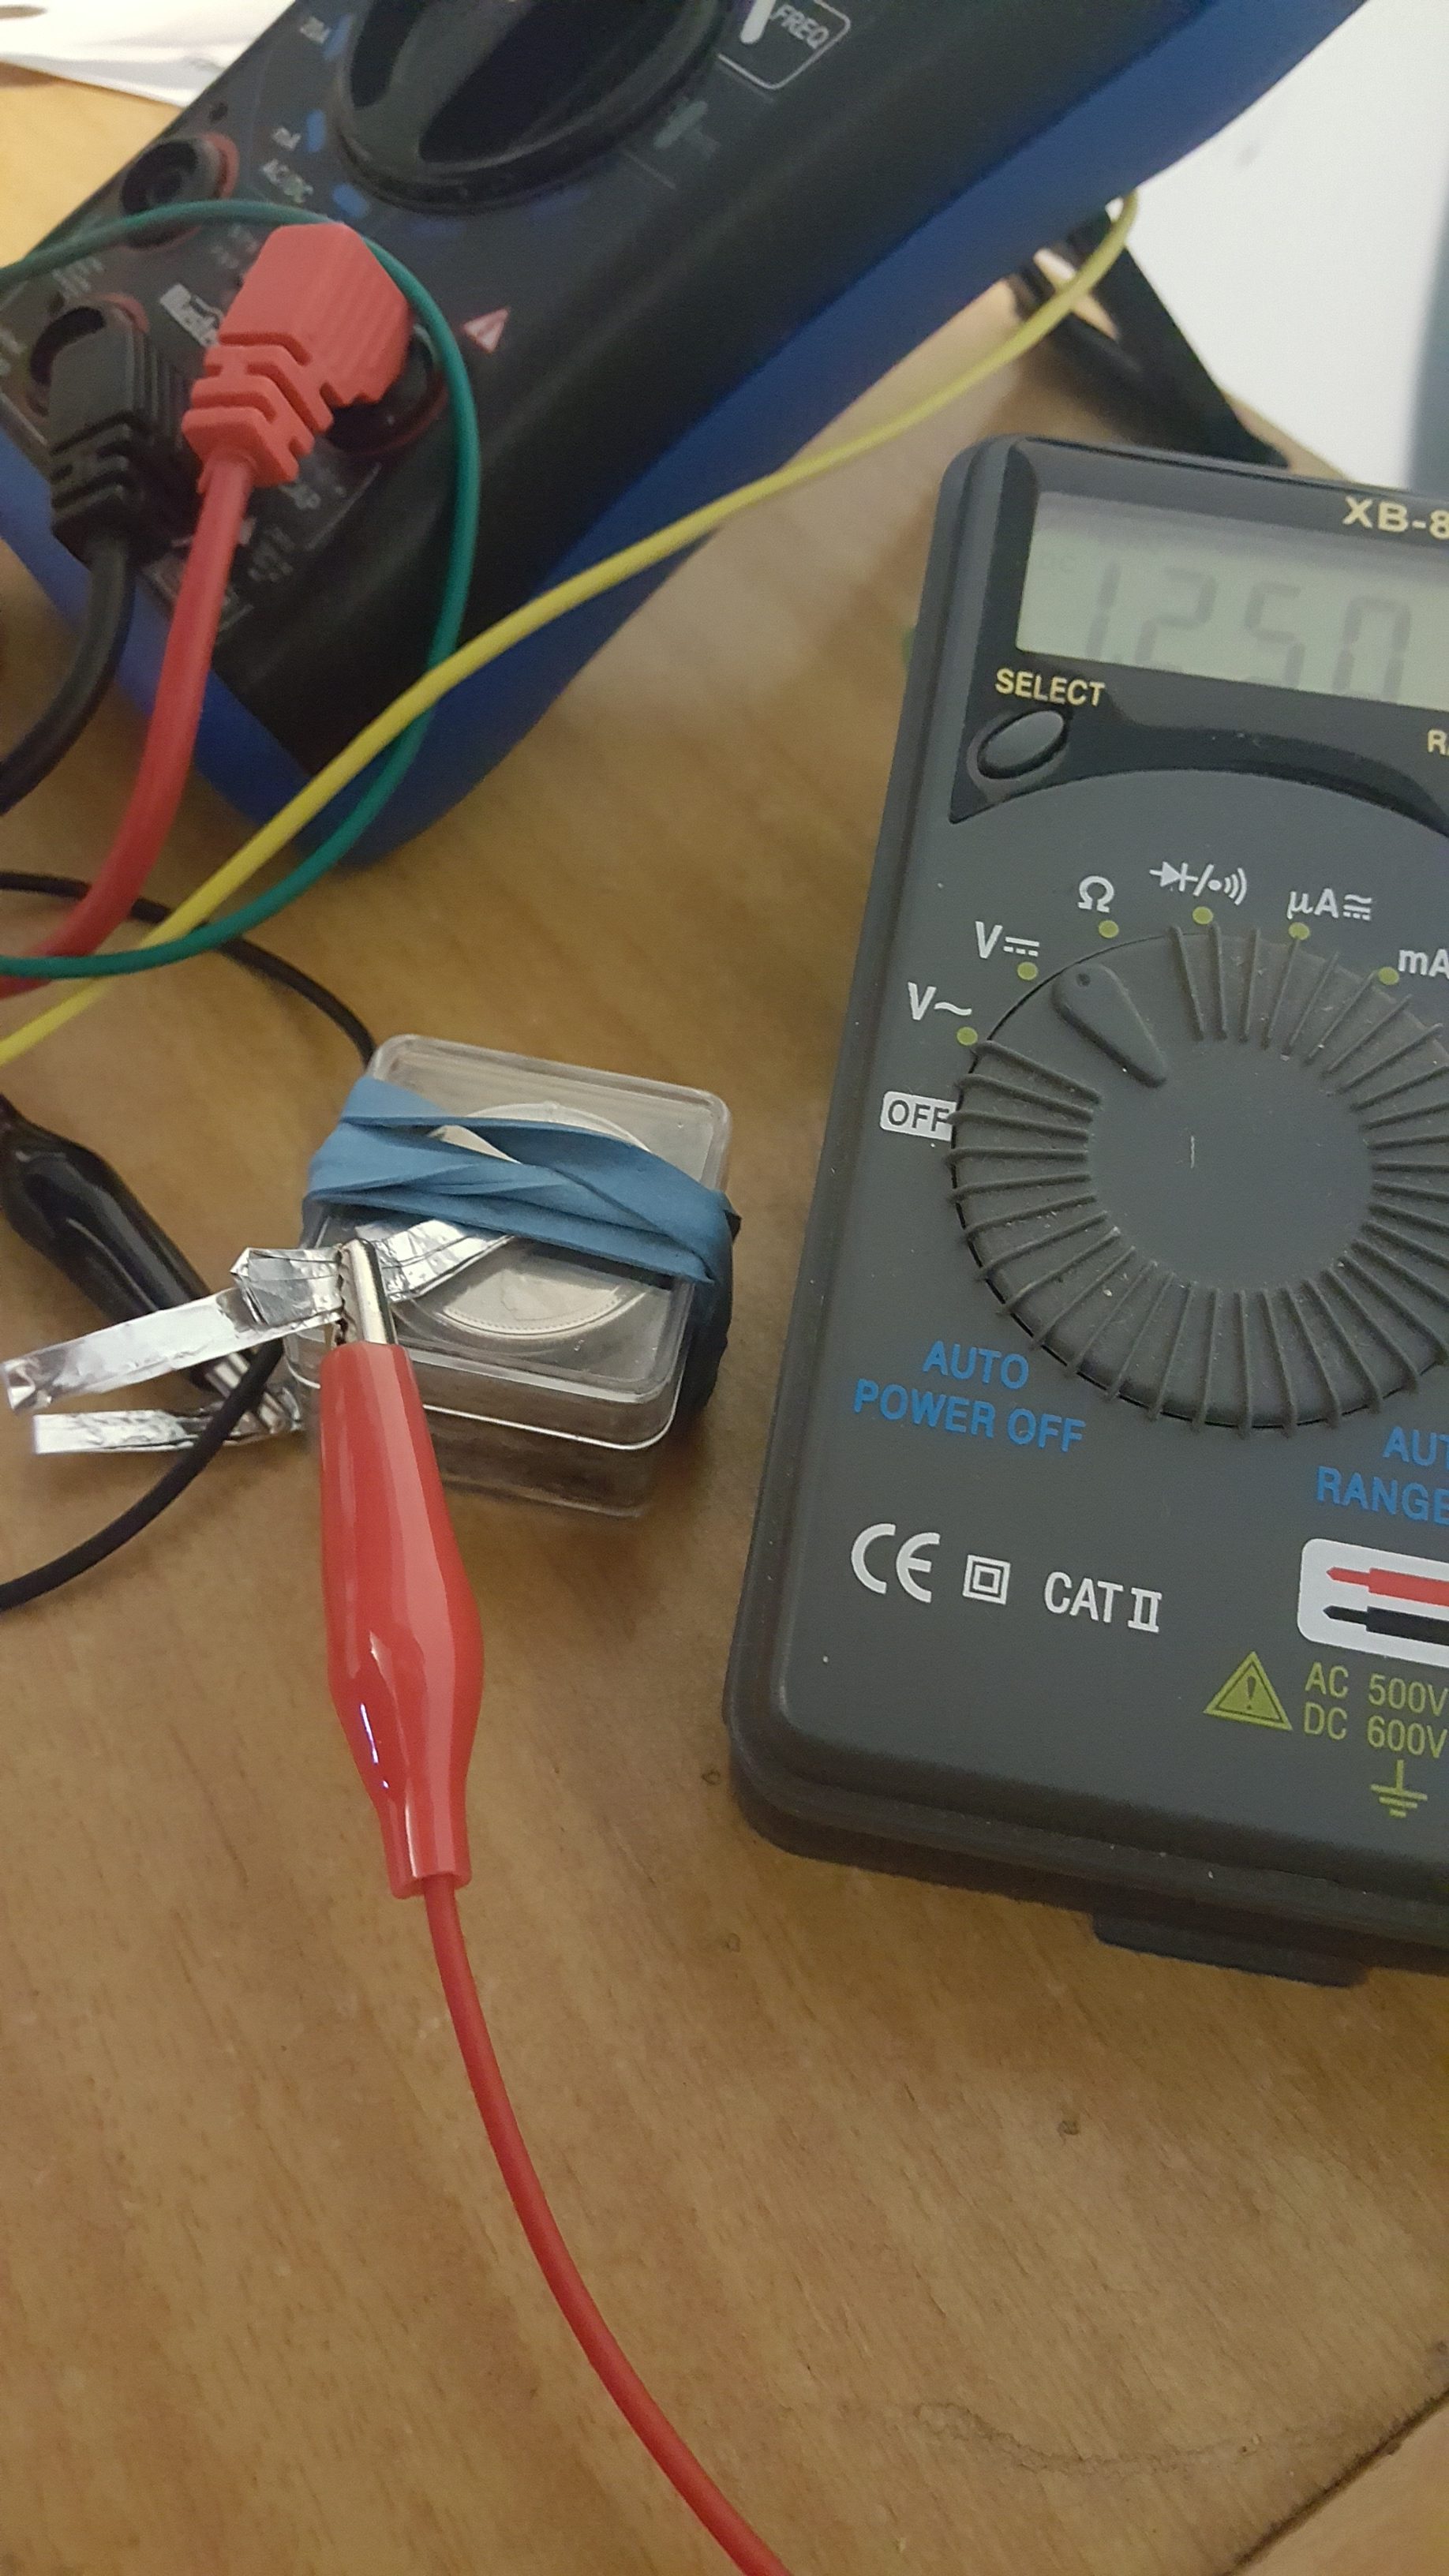
Size: 30mm x 30mm x 23mm
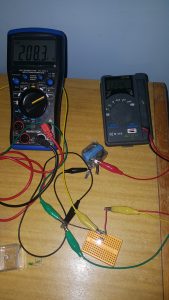
Include: 3 Cell Stack to create 1.5v voltage. (2.2v without load)
Current: 3mA @ 1.25v (tested after 24+ hours of lighting).
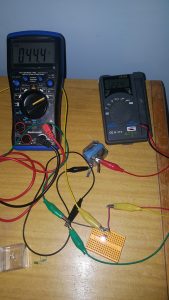
Current Range: 1 to 3 mA current @ 0.7 to 1.25v. (voltage dropped to 0.7v last night and boost up to 1.25v, which is strange.)
* above voltage are source voltage.
Step 2: Make a joule thief
To test battery, I need a small device to consume power. There are two kind of chips that able to do this trick. YX8018 and QX5252.
YX8018:
Datasheet:
Japanese Edition
Chinese Edition
How To:
https://github.com/mcauser/YX8018-solar-led-driver
https://wiki.analog.com/university/courses/alm1k/alm-lab-15
Pros: YX8018 can run with a power source under 0.6v (maybe 0.5v is possible) under a LED load. YX8018 can go as low as 3mA (from power source) when pair with a high 560uH inductor, which is good for weak power source (battery with high internal resistance).
Cons: YX8018 will not able to withdraw more than 30mA from power source. Since this is a step up boost converter, the load (LED, etc.) side will have even less current (~10mA).
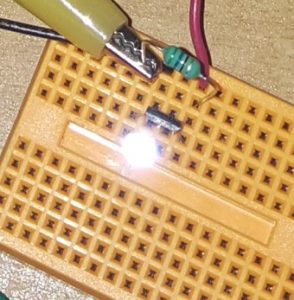
I use YX8018 for Salt Aluminum Battery load test, since the battery cannot withdraw much current.
Test:
560uH inductor, 1.25v Power source.
with LED: Current: 3.5mA Duty Cycle: 44% Freq: 200khz
Remove LED: Current: 3.0mA Duty Cycle: 30% Freq: 400khz
QX5252:
Datasheet:
English version
Pros: QX5252 can draw much more power from power source (300mA).
Prototype:
Step 3: ???
To be continued …
Good Stuff:
https://skootsone.yolasite.com/solar-led.php
https://www.davidpilling.com/wiki/index.php/SolarSensor
Solar powering an Attiny or Arduino with a capacitor, or just use AA? Part 2
