Li's Frontier
作品集
关于我
简历
博客
Notes
其它
Servers
论坛
语言:
English
中文
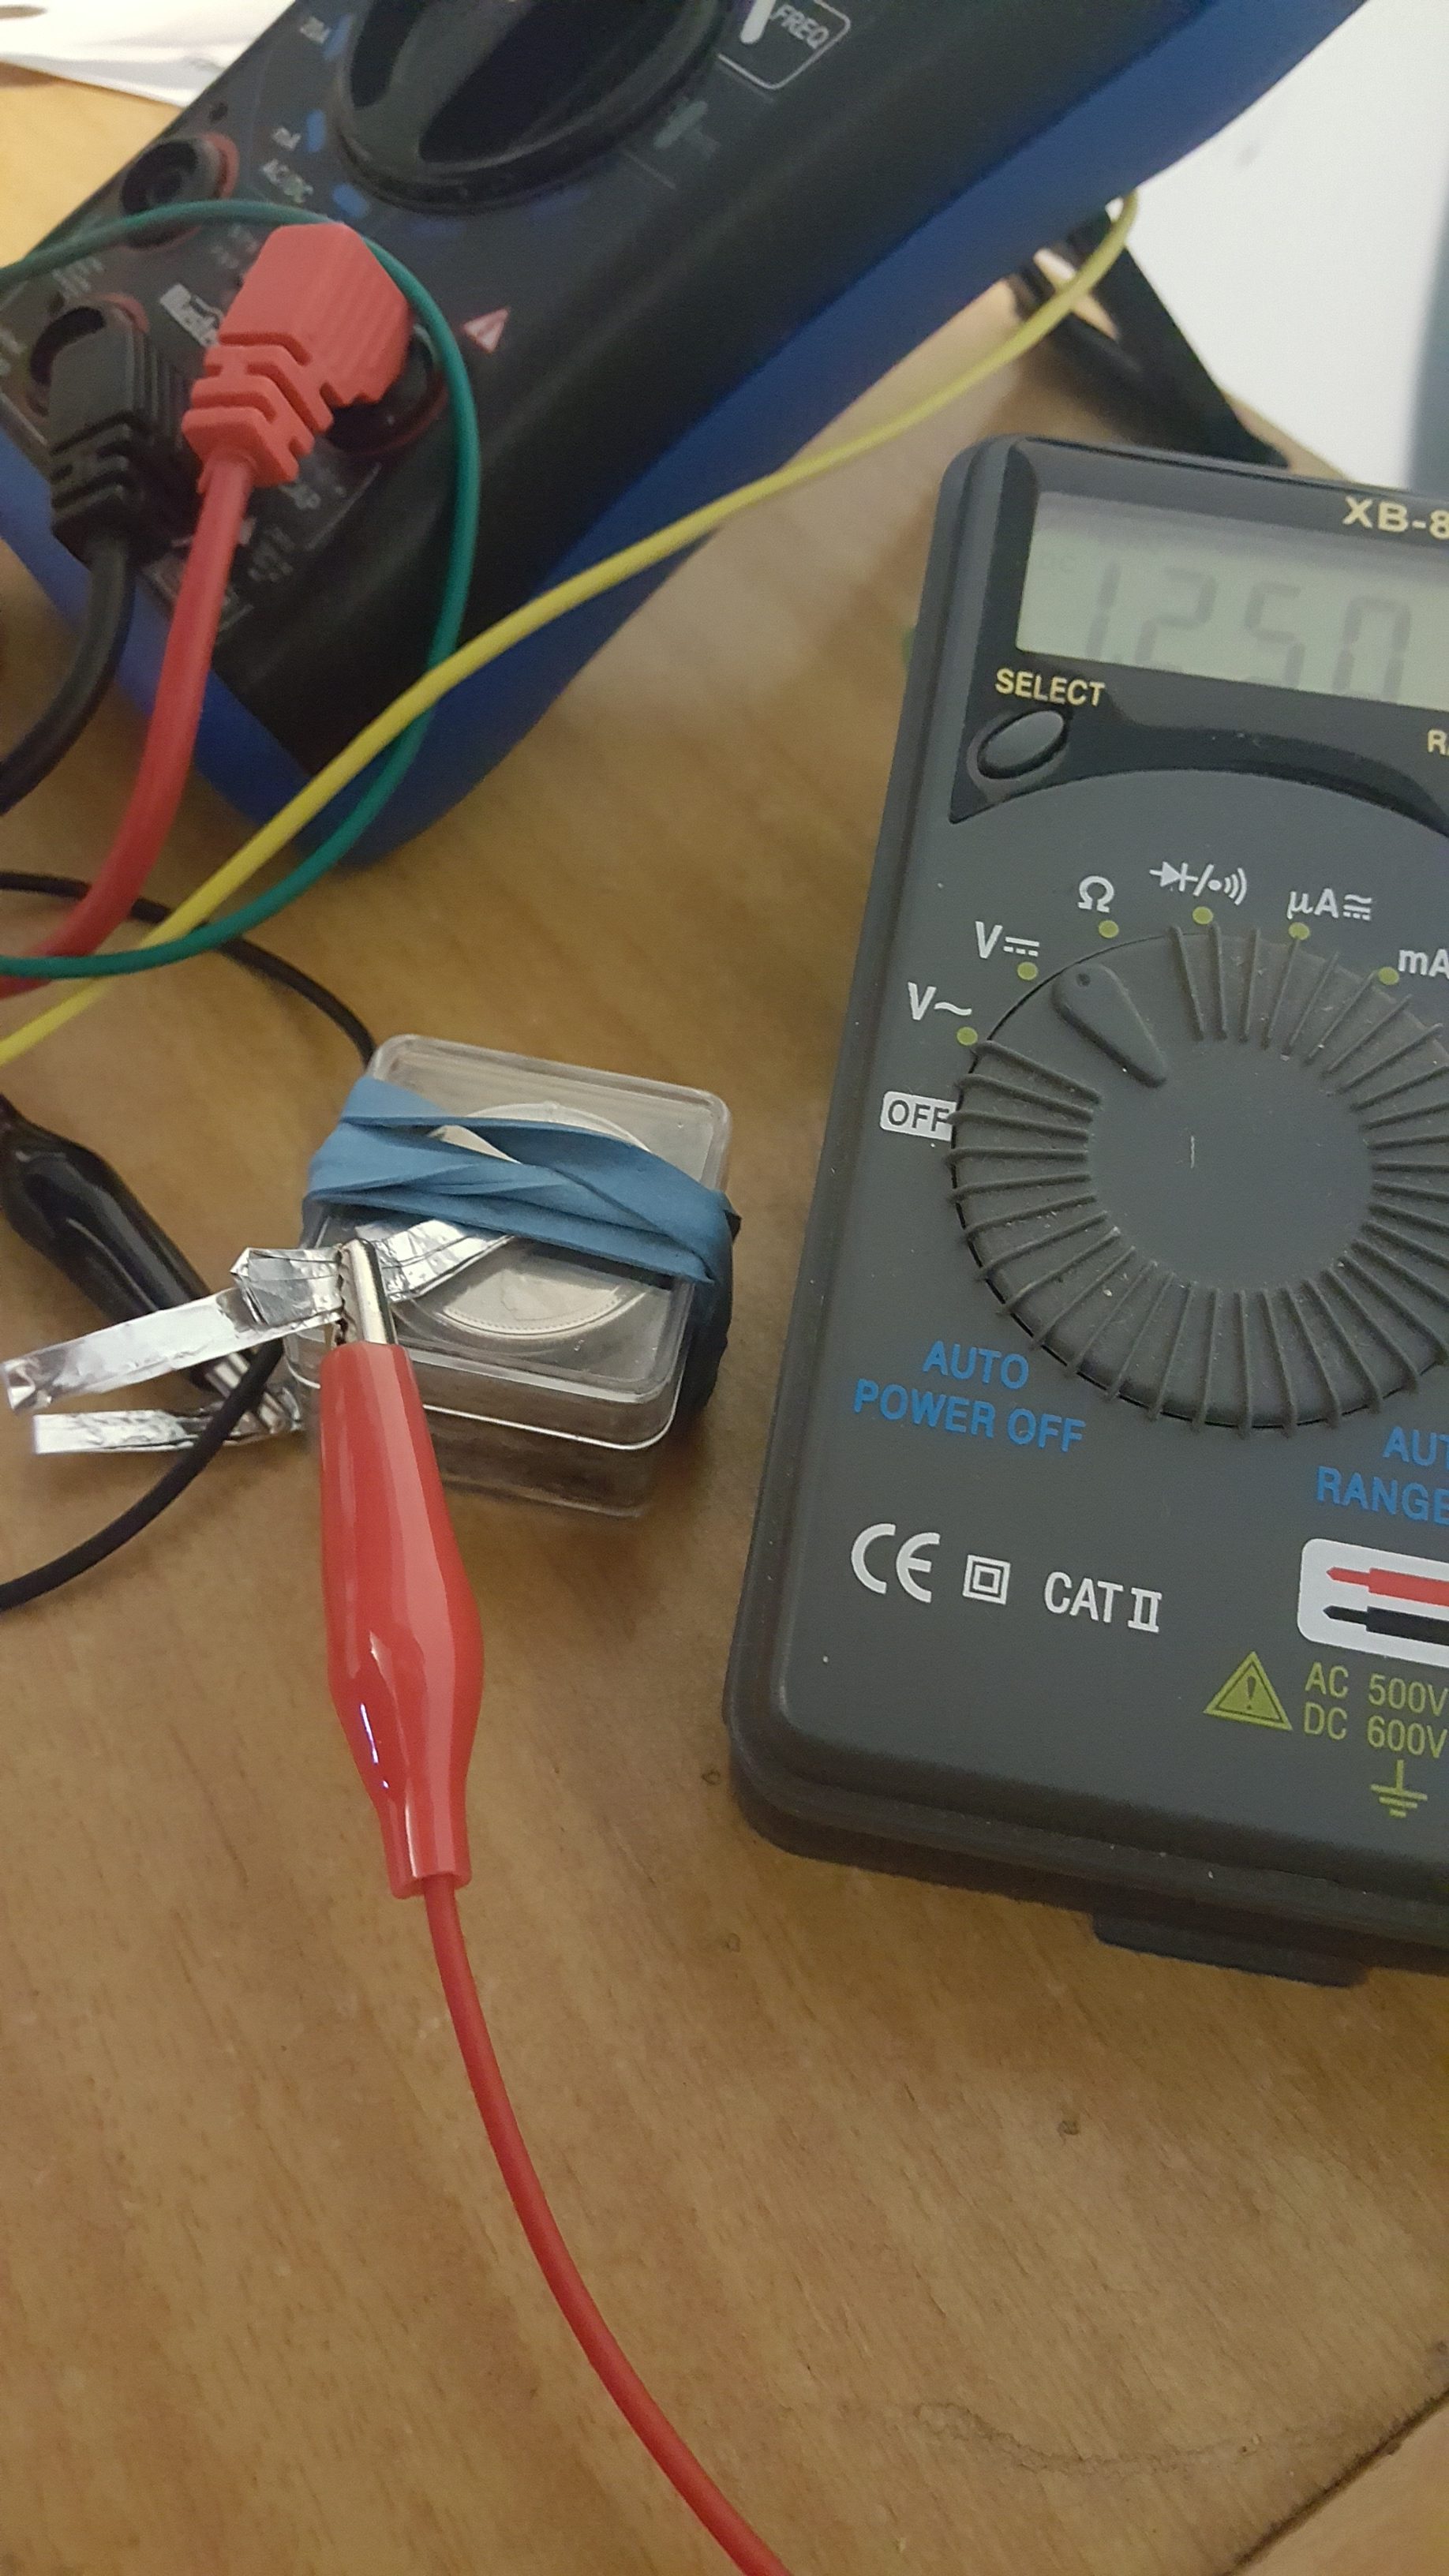
(English) Power MCU with home made battery
Check English Version.
Share:
Twitter
Facebook
Google+
Leave a Reply
取消回复
您的电子邮箱地址不会被公开。
必填项已用
*
标注
评论
*
显示名称
*
电子邮箱地址
*
网站地址
通过邮件通知我后续评论
通过邮件通知我有新文章
Δ